Share The Bliss
From Garden to Jar: Homemade Spicy Pickled Cauliflower

Share The Bliss
Hello Beautiful Friends!
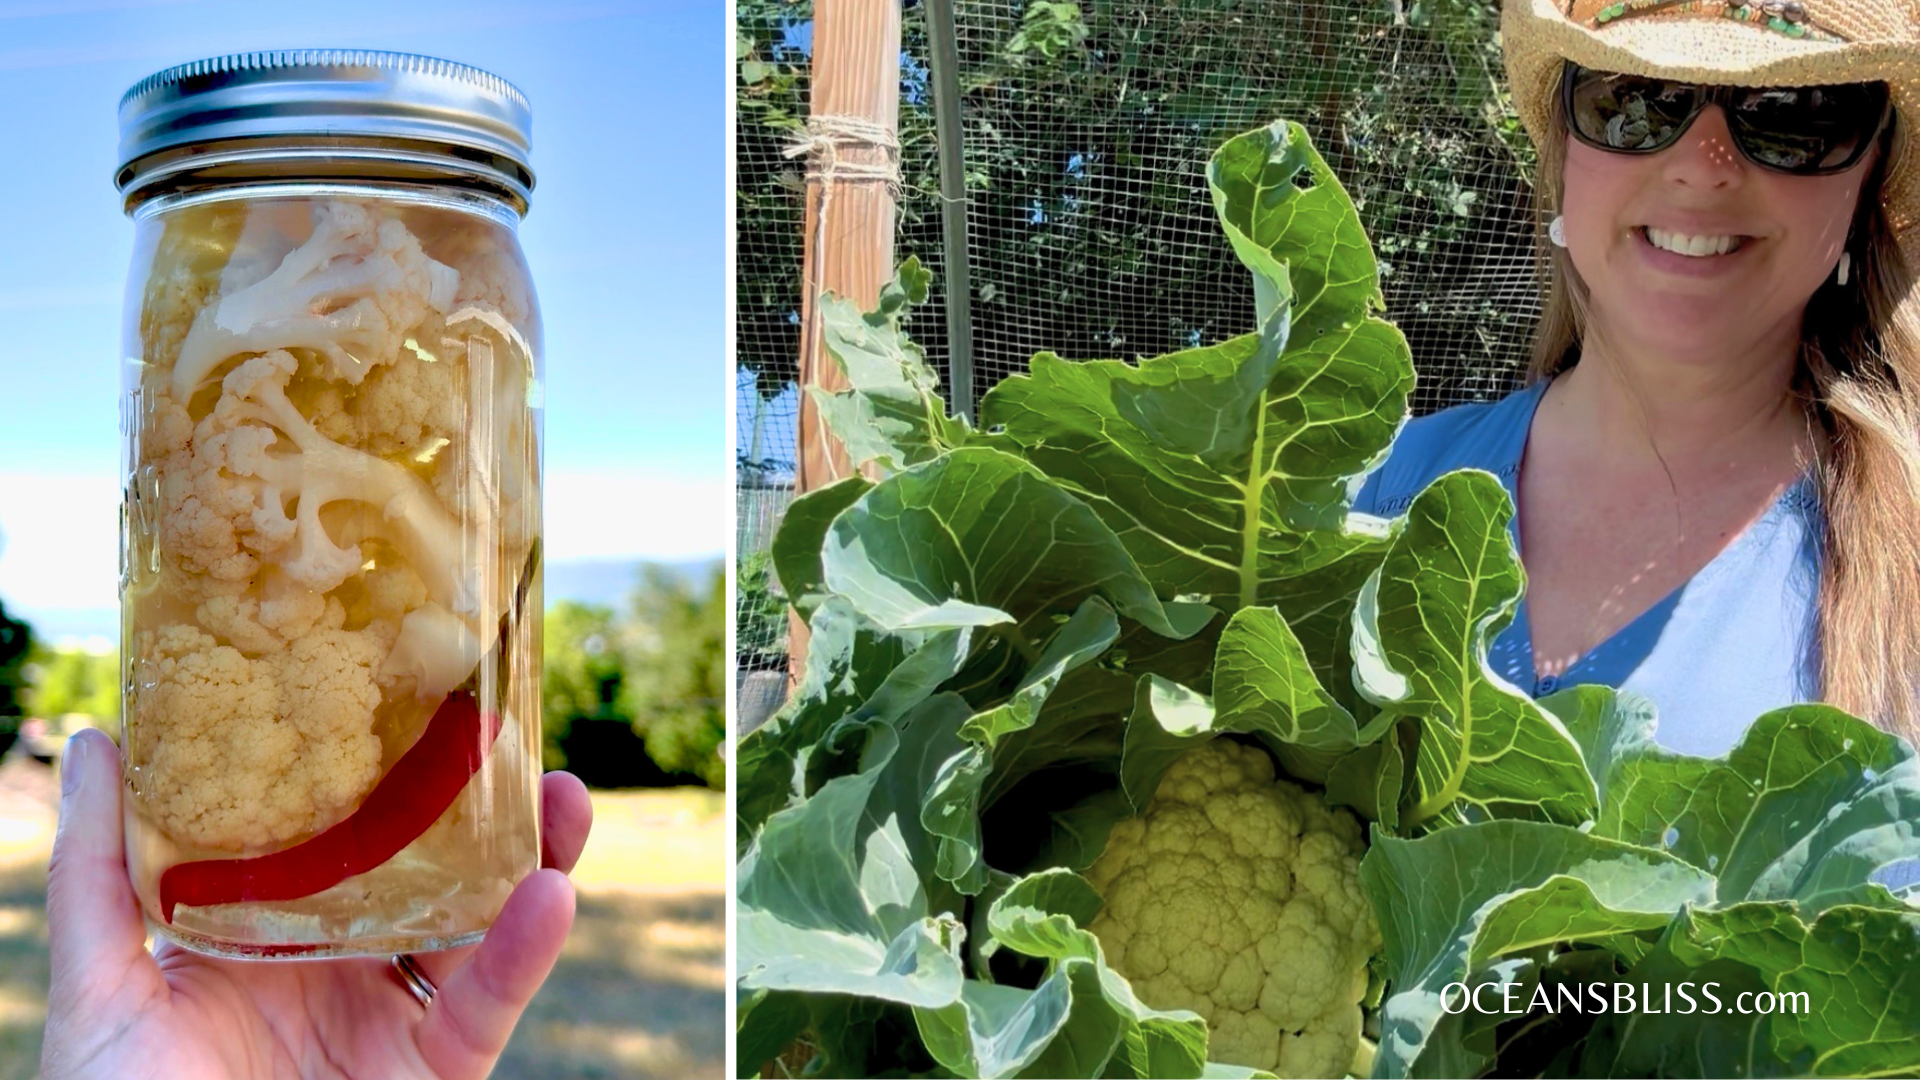
There are some vegetables that disappear almost as quickly as I can grow them, and cauliflower is one of them. It always feels like a small victory when that first beautiful head is finally ready to harvest. Sometimes it’s only one. Sometimes it’s a whole row. Either way, if I have enough, there’s a good chance it’s heading straight into jars of spicy pickled cauliflower.
It’s one of those pantry staples that somehow ends up beside almost every meal. Charcuterie boards, sandwiches, burgers, salads, snack plates… my mouth is watering thinking about it!
Why I Love Growing My Own
Cauliflower can take a little patience, but it’s worth every day of waiting. Growing it yourself means you know exactly how it was cared for. No synthetic sprays. No waxes. Just healthy soil, plenty of sunshine, regular watering, and a little attention.
One of my favourite parts of gardening is harvesting vegetables and preserving them the very same day. The cauliflower is still crisp, full of moisture, and at its absolute best. That freshness carries right through into the finished jars.
A Few Tips for Growing Great Cauliflower
A few things I’ve learned over the years:
– Start with rich, compost-filled soil.
– Keep the soil evenly moist—cauliflower dislikes drying out.
– Feed regularly with compost or an organic fertilizer.
– Mulch to keep roots cool during hot weather.
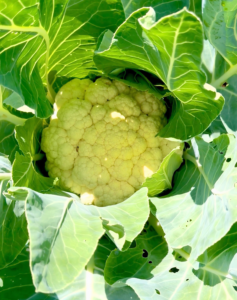
– Harvest while the head is still tight and compact before it begins to separate.
If your plants only produce one or two heads at a time, don’t worry. I often preserve just a couple of jars rather than waiting for a huge harvest. Every jar is one less to buy later.
Harvest, Wash & Prepare
Harvest your cauliflower early in the morning if possible. Remove the outer leaves and cut into bite-sized florets. Peel and lightly slice the stems too, they’re delicious and shouldn’t go to waste. Wash everything well before preparing your jars.
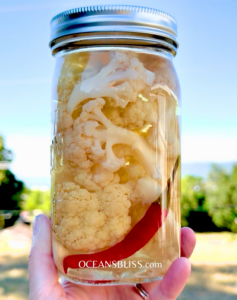
Spicy Garlic & Thai Chili Pickled Cauliflower
Makes about 4 pint (500 ml) jars
Ingredients:
– Cauliflower: 2 medium heads cauliflower, cut into florets
Into each sterilized pint jar add:
– 2 cloves garlic
– 1 Thai chili (whole or sliced, depending on desired heat)
– 1 small dill sprig (optional)
Brine
– 4 cups white vinegar (5% acidity)
– 4 cups water
– ¼ cup pickling salt
Bring the brine to a gentle boil, stirring until the salt dissolves.
Canning Instructions
- Prepare a boiling water canner and sterilize your jars.
- Pack cauliflower florets firmly into hot jars.
- Add the garlic, Thai chili, and spices to each jar.
- Pour the hot brine over the vegetables, leaving ½ inch (1.25 cm) headspace.
- Remove any air bubbles and adjust the headspace if needed.
- Wipe the rims clean and apply lids and bands until fingertip tight.
- Process in a boiling water bath for 10 minutes (adjust for altitude if required).
- Allow jars to cool undisturbed for 12–24 hours.
The Hard Part… Waiting
The flavours continue to develop as the jars sit.
They’re perfectly safe once sealed, but I think they’re at their best after about 2–3 weeks, when the garlic and chilli have had time to infuse every bite.
The cauliflower stays crisp, tangy, and just spicy enough to keep you reaching back into the jar.
One More Jar
One of my favourite things about home preserving is that it doesn’t have to be a marathon. Sometimes you spend a weekend filling dozens of jars.
Sometimes your garden gives you one perfect cauliflower, and you preserve just enough for a few special meals. Both are part of seasonal living.
A single jar made from something you grew yourself has a way of tasting just a little bit better.

Featured Product
‘Harvest-to-Jar’
Realistic Canning Yields: Fruits & Vegetables
Two-page downloadable guide with bonus content!