Share The Bliss
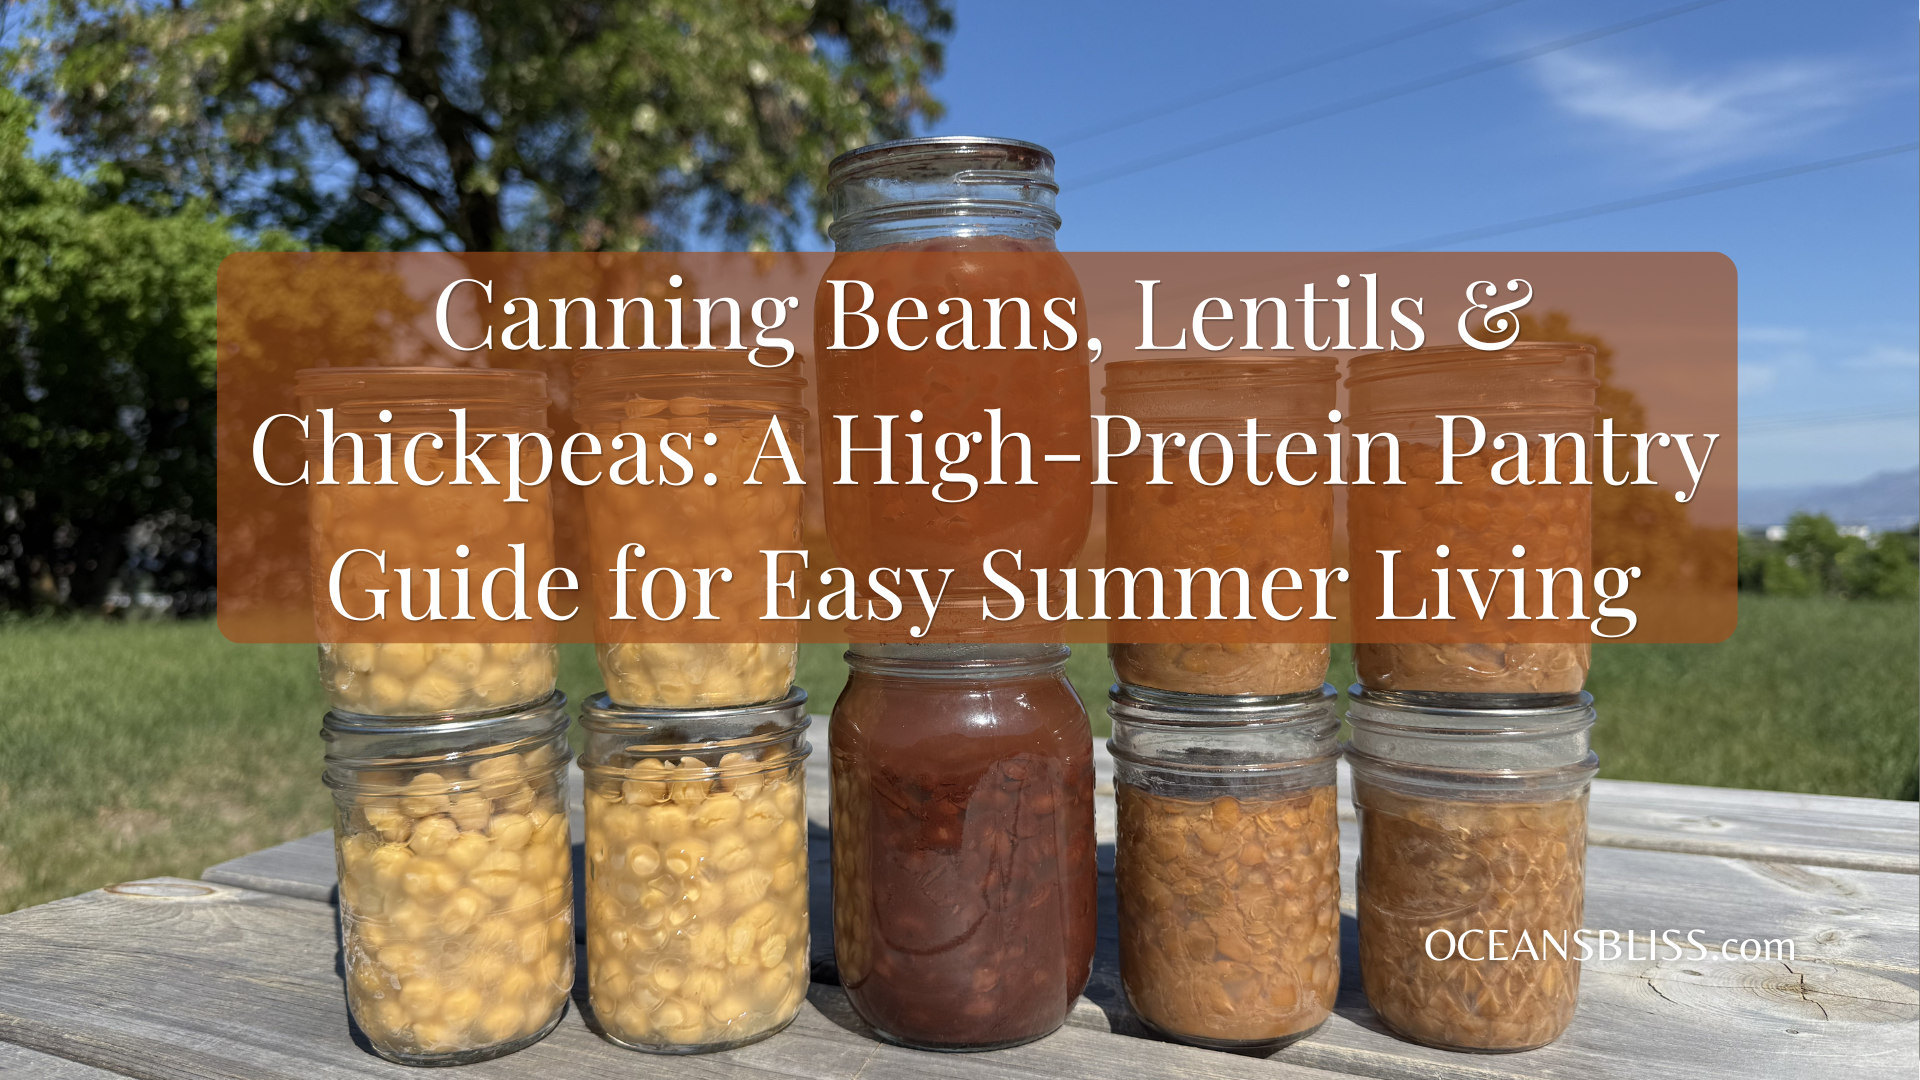
Canning Beans, Lentils & Chickpeas: A High-Protein Pantry Guide for Easy Summer Living

Share The Bliss
Hello Friends!
Spring is my favourite time to build a pantry of pressure-canned beans, lentils, and chickpeas before summer heat arrives. The kitchen is still cool, the windows are open, and the garden is planted, so time to summer prep!
This is one of those old-fashioned skills that still makes modern life easier: affordable protein, ready-to-go jars, and zero last-minute cooking stress.
Why Pressure Canning is Required (Important Safety Note)
Beans, lentils, and chickpeas are low-acid foods, which means they must be pressure canned (not water bath canned). A pressure canner reaches high enough temperatures (240°F / 116°C+) to safely preserve:
– cooked beans
– chickpeas
– lentils
– other legumes
This is what makes shelf-stable, ready-to-eat pantry jars possible.
What I Can: A Wider Variety of Pulses & Beans
I rotate through a mix depending on what’s in the bulk bins and what I want for summer meals:
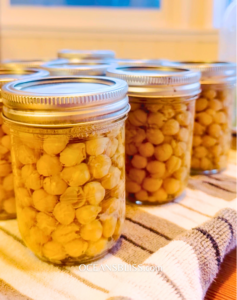
- Chickpeas (Garbanzo Beans)
Mild, creamy, and incredibly versatile:
– chickpea cucumber salads
– hummus
– roasted chickpea bowls
– Mediterranean-style lunches - Black Beans
Earthy and perfect for bold summer meals:
– taco salads
– burrito bowls
– lime + herb bean salads
– cold picnic sides - Lentils (multiple varieties)
Lentils are one of the fastest pantry staples because they cook quickly and don’t require soaking:
– Green or brown lentils: hold shape well for salads and bowls
– Red lentils: softer texture, great for soups or mashed spreads (they break down more during processing)
– French (Puy) lentils: firmer, peppery, excellent for cold salads - Other beans I rotate in:
– kidney beans
– navy beans
– pinto beans
– white beans (cannellini)
Each one changes the texture and variety of summer meals without extra effort.
Protein Content (Why This Works So Well for Summer Meals)
One of the biggest benefits of canning beans and lentils is the high protein + fibre content that keeps meals satisfying.
Approximate cooked values:
- Chickpeas: ~14–15g protein per cup
- Black beans: ~14–15g protein per cup
- Lentils: ~17–18g protein per cup (highest of the group)
This is why they work so well for: quick lunches, plant-based meals, post-garden snack bowls & picnic food that actually fills you up.

The Pressure Canning Process (Practical Breakdown)
This is a simplified overview of how I pressure can beans, chickpeas, and lentils in batches for pantry storage. Always follow current tested pressure canning guidelines for exact processing times and pressures.
1. Sort & Rinse
Sort through dried beans or lentils and remove any small stones, damaged beans, or debris. Rinse thoroughly under cool water.
2. Soak & Precook (in water)
After soaking (or for lentils, after rinsing), the legumes are drained and then simmered in fresh water before canning. Drain the soaking water completely (don’t use it for canning). Add beans or chickpeas to a pot and cover with fresh water by about 2–5 cm (1–2 inches). Bring to a gentle boil, then reduce to a simmer. Cook until the beans are only partially tender (not fully soft)
Guideline timing (approximate):
– Chickpeas / larger beans: ~30–60 minutes simmering after soaking
– Medium beans (black, kidney, etc.): ~20–45 minutes
– Lentils: ~5–15 minutes (depending on type, red lentils much shorter and very gentle handling)
Once partially cooked, drain again lightly (or reserve a bit of cooking liquid if you prefer for packing, as long as it’s clean and unsalted or lightly salted)
Then proceed to:
Pack hot beans into hot jars and cover with boiling water or fresh cooking liquid.
Key idea:
You’re aiming for par-cooked beans—firm enough to hold shape in the jar, but cooked enough that the pressure canning finishes them safely and gives the right texture later.
3. Fill the Jars
Pack hot beans or lentils into hot, sterilized jars. Leave the proper headspace (important for safe sealing and expansion during processing). Avoid overpacking, as beans continue absorbing liquid during canning.
4. Add Liquid
Cover the beans with fresh boiling water or hot cooking liquid, maintaining proper 1 ” – 1.5 ” headspace. Remove air bubbles using a non-metal utensil. Wipe jar rims clean before applying lids and rings.
Salt (Optional but Recommended for Flavour)
Salt is not required for safety, but it improves flavour and lightly seasons the beans for quick meals later.
Typical guideline:
– ½ teaspoon salt per pint (500 ml jar)
– 1 teaspoon salt per quart (1 L jar)
You can reduce or omit salt entirely if preferred, since seasoning can always be adjusted when serving.
5. Pressure Can
Process jars in a pressure canner according to tested canning guidelines.
Processing time varies depending on: bean or lentil type, jar size, altitude. Always use pressure canning for low-acid foods like beans. Follow trusted canning charts and your pressure canner manual for exact timing and pressure requirements.
6. Cool & Store
After processing: Allow jars to cool undisturbed for 12–24 hours. Check seals before storing. Remove rings and wash jars if necessary or desired, label jars, and store in a cool, dark pantry. Once properly sealed, pressure-canned beans and lentils become shelf-stable pantry staples that make fast soups, salads, stews, curries, dips, and protein-rich meals incredibly convenient year-round.
Cost Breakdown (Why This is So Affordable)
Bulk buying makes a huge difference here. Even when factoring in lids and energy, home pressure canned beans remain significantly more affordable than store-bought versions, with the added benefit of no additives or packaging waste.
- What These Become in Real Life
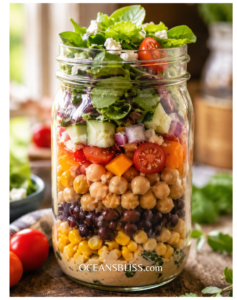
In summer, these jars turn into:
-2-minute chickpea salads with lemon & herbs
-black bean taco bowls
-lentil salads with garden vegetables
-quick protein picnic jars
-no-cook lunch boxes
-pantry dinners when the garden is too busy
Pressure canning beans, lentils, and chickpeas is one of those old-fashioned skills that still makes perfect sense today. It’s practical, affordable, and deeply grounding, a way of feeding yourself later with care you gave yourself earlier in the season. From dry beans to pantry jars, it’s a simple rhythm that turns everyday food into something ready for real life. And honestly… there’s something very satisfying about opening a shelf full of your own work when summer gets busy.
Enjoy!
DIY Disclaimer: This content is shared for informational, inspirational and educational purposes only.Please use appropriate safety precautions and your own judgment when attempting any project. We are not liable for any injury, damage, or loss resulting from use of this information.


Featured Product
‘Harvest-to-Jar’
Realistic Canning Yields: Fruits & Vegetables
Two-page downloadable guide with bonus content!