Share The Bliss
Growing Winter Squash for Self-Sufficiency: From Seed to Winter Storage
Share The Bliss
Hello Beautiful Friends!
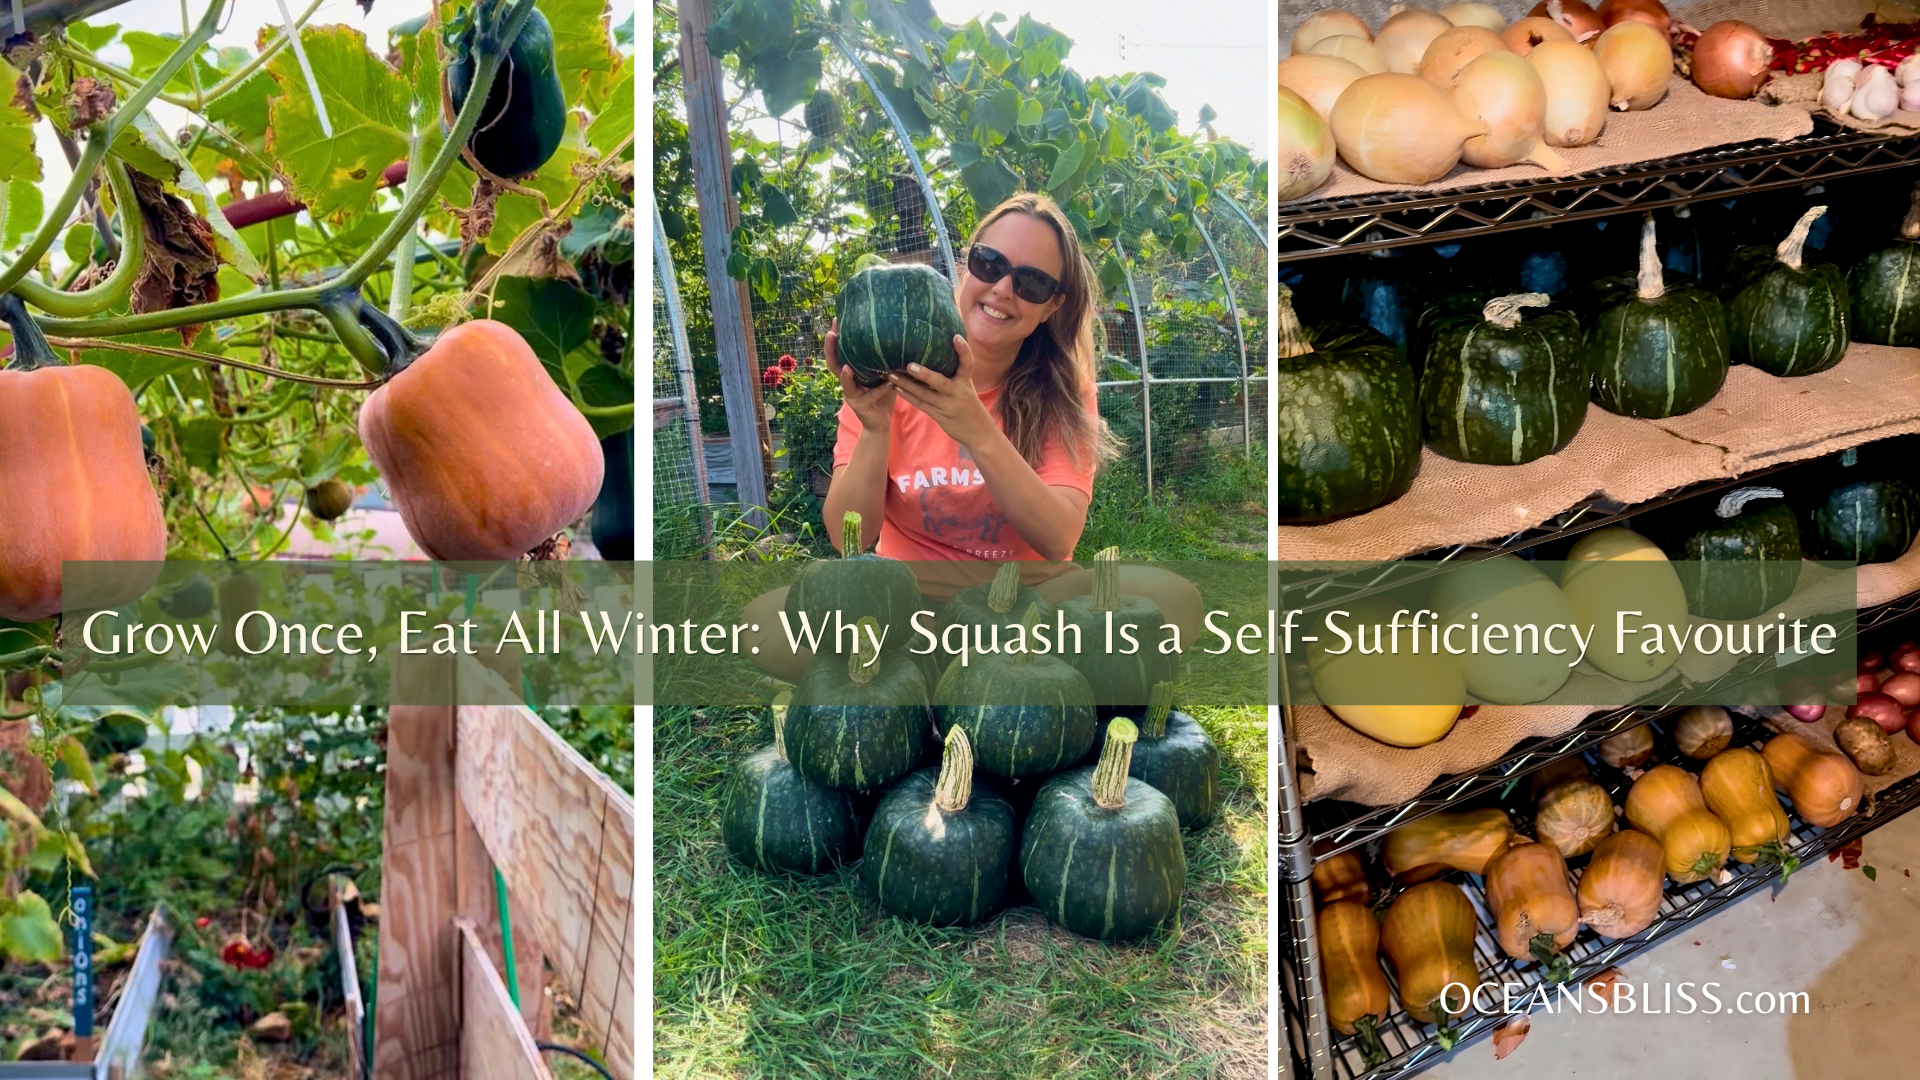
One of my favourite things to grow for self-sufficiency is winter squash, especially little mini butternuts!
A few inexpensive seeds, or even seeds saved from your own harvest, can give you a fantastic crop. And unlike so many things coming out of the garden, there’s no rush to preserve everything.
No freezer space, or afternoon spent canning (even though we love it, its nice to take a break once in a while). Squash is just grow it, harvest it, and store it properly.
It’s one of those crops that makes so much sense when you’re trying to grow more of your own food and build a winter pantry.
And if you’re new to gardening or looking for more food-producing plants that actually earn their space, winter squash deserves a spot on your list.
Affiliate Disclosure: This post contains affiliate links. I may earn a small commission from qualifying purchases at no extra cost to you. As an Amazon Associate I earn from qualifying purchases. Click the highlighted links to shop my pick!
My Favourite Way to Organize Seeds
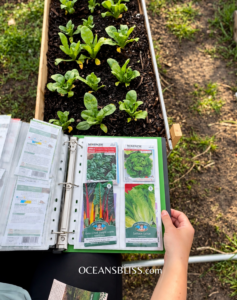
First off, this is hands down my favourite way to keep all of my seeds organized. I keep all my seed packets organized in a simple durable binder with clear pocket sleeves. It’s inexpensive, easy to flip through when planning my garden, and keeps everything in one place instead of scattered in drawers. For seeds I save from my own garden, I use small paper seed envelopes to label the variety and harvest year before tucking them into the binder.
I can quickly see what seeds I already have, what needs planting, and what I need to restock for the next season.
8 Winter Squash Varieties Worth Growing
Not all squash are created equal when it comes to winter storage. Some are best eaten in the fall, while others can keep well into winter.
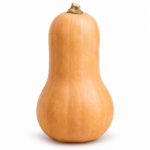
1. Butternut Squash
My favourite all-rounder. Sweet, creamy, and perfect for soups, roasting, and baking. A great choice for winter storage.
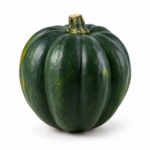
2. Acorn Squash
Easy to prepare, great for stuffing, and ideal for smaller meals. Best enjoyed earlier in the storage season.
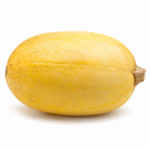
3. Spaghetti Squash
A fun one to grow! Once cooked, the flesh separates into spaghetti-like strands. Great for everyday meals.
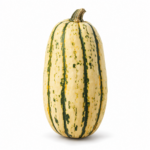
4. Delicata Squash
Sweet, delicious, and the skin is edible. No peeling required! Another variety to eat earlier in the season.
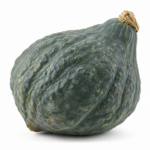
5. Hubbard Squash
A winter pantry champion. Large, productive, and one of the best squash varieties for long-term storage.
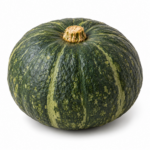
6. Kabocha Squash
Dense, sweet, nutty flesh. Wonderful roasted and another strong choice for winter storage.
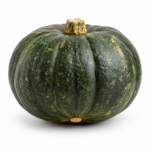
7. Buttercup Squash
Rich, sweet flesh that’s especially good for soups, roasting, and mashing.
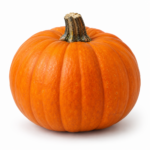
8. Sugar Pumpkin
Not just for fall decorations! Grow these smaller pumpkins for homemade purée, muffins, pies, and soups.
How to Grow Winter Squash From Seed
Squash is surprisingly easy to grow, although you’ll want to give those vines some room to wander!
1. Start with warm soil. Soil Thermometer’s are very helpful for this! Direct sow after your last spring frost, once the soil reaches about 18°C (65°F). In shorter growing seasons, start seeds indoors roughly 2–3 weeks before transplanting. My favourite biodegradable seed starting tray! + My favourite seed starting tray!
2. Choose a sunny location. Squash loves full sun, fertile soil, and plenty of compost.
3. Plant your seeds. Sow about 2–3 cm deep. Follow the seed packet for spacing, since some varieties spread several metres.
4. Water deeply. Keep moisture consistent, especially when the plants begin flowering and setting fruit. Water near the base rather than soaking the leaves.
5. Mulch around the plants. This helps retain moisture, suppress weeds, and keep squash off damp soil.
My garden tip: Short on space? Look for compact or bush varieties. Smaller-fruited squash can also be grown vertically on sturdy trellises, with support for heavier fruit. A great garden trellis!
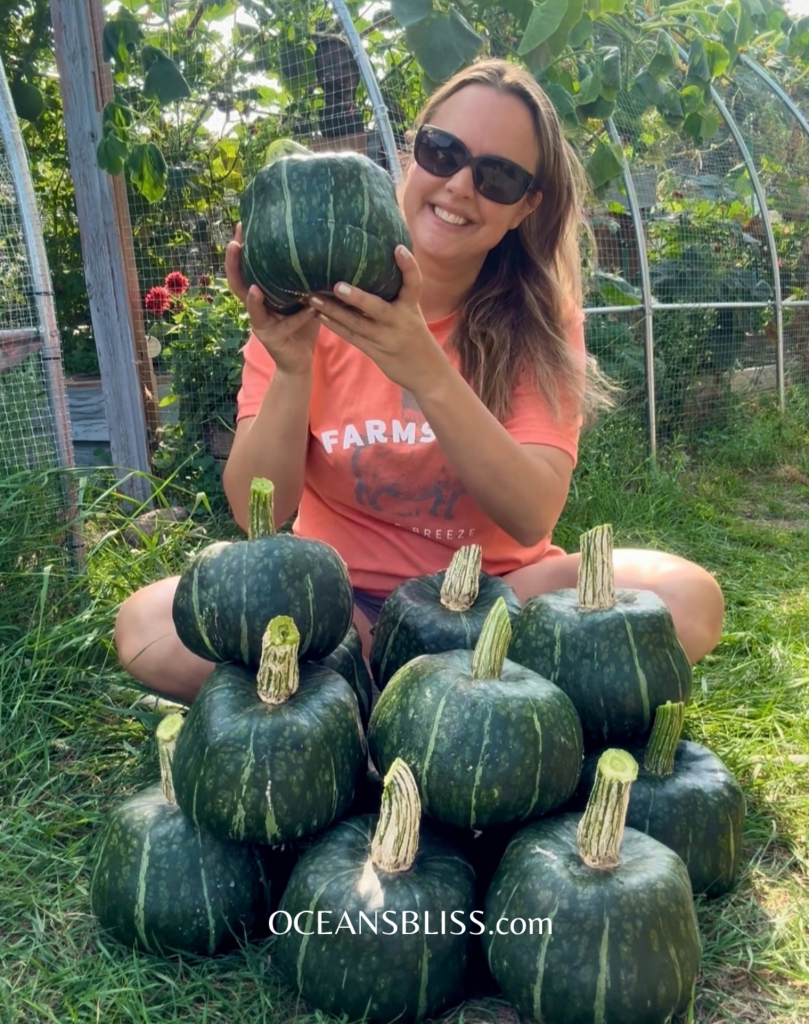
When to Harvest Winter Squash
Around the Okanagan, winter squash is generally ready in September or October, depending on the variety and when you planted. Rather than relying on the calendar, look for these signs:
– The squash has developed its mature colour.
– The rind is hard and difficult to puncture with your thumbnail.
– The stem is becoming dry and woody.
– The vines are beginning to yellow or die back.
Harvest before a hard frost. Use sharp garden pruners, leaving approximately 2–5 cm of stem attached, and handle carefully to prevent bruising.
One little trick: Don’t carry your squash by its stem. If it breaks off, you’ve created an opening for rot, which can significantly shorten storage life.
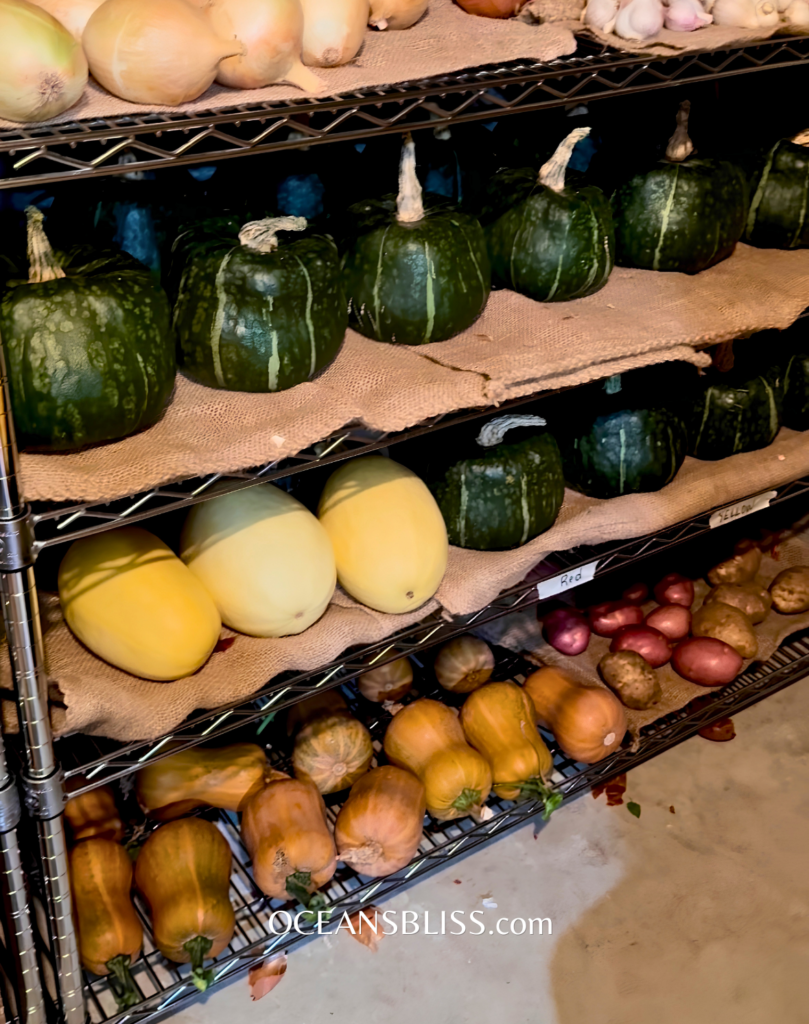
The Secret to Storing Squash All Winter
Here’s where growing squash really pays off. Certain varieties can last for months without refrigeration, provided they’re fully mature, healthy, and stored under the right conditions. I have these amazing heavy duty storage shelves in my cold room, which are can store a ton of squash! Another option are these stackable ventilated produce storage crates.
Step 1: Cure your squash
For butternut, Hubbard, and many other long-keeping varieties, curing helps toughen the skin and improve eating quality.
Place harvested squash in a warm, sheltered, well-ventilated location, ideally around 27–29°C (80–85°F), for approximately 5–10 days.
Acorn and delicata are exceptions. These generally don’t benefit from warm curing and should go straight into suitable storage.
Step 2: Find the right storage spot
Ideally, choose somewhere that is:
– Cool, around 10–13°C (50–55°F).
– Dry enough to prevent condensation, with good airflow.
– Protected from freezing temperatures.
– Equipped with shelves so squash can be stored in a single layer.
Avoid storing squash directly beside apples or pears, since the ethylene gas released by ripening fruit can shorten squash storage life.
Step 3: Eat them in the right order
Not every squash needs to last until spring! Variety Approximate storage life:
- Acorn 1–2 months
- Delicata 1–2 months
- Spaghetti 1–2 months
- Butternut 2–3 months
- Sugar Pumpkin 2–3 months
- Kabocha 3+ months
- Buttercup 3+ months
- Hubbard 5–6 months
One More Reason to Grow Your Own: Save the Seeds!
Here’s another little self-sufficiency bonus. Winter squash seeds can be saved for future planting, provided you’ve grown an open-pollinated variety and prevented unwanted cross-pollination with compatible squash varieties. Let the squash fully mature, scoop out the seeds, clean and dry them thoroughly, and store them somewhere cool and dry. Or roast the seeds for a homemade snack! I love these kraft little seed storage envelopes with a writable surface to store my seeds !
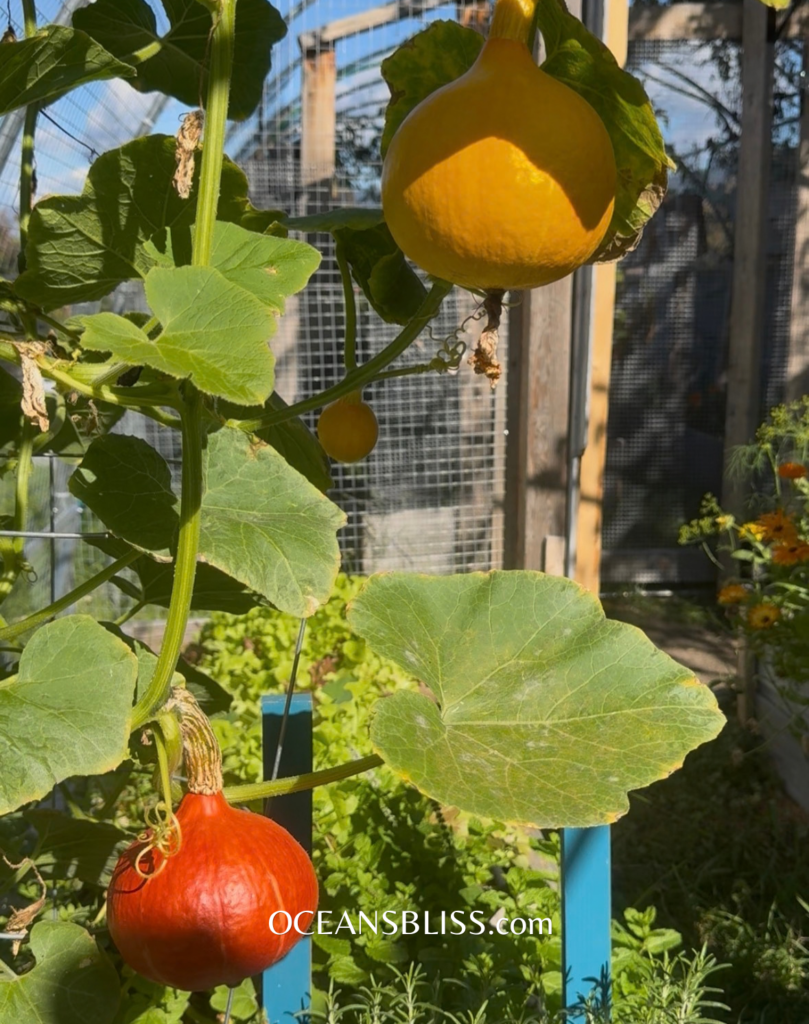
A Winter Pantry That Starts in the Garden
I love canning and preserving, but I also love finding ways to make growing our own food a little simpler. Winter squash is inexpensive to start, productive, incredibly versatile in the kitchen, and doesn’t demand hours of preserving once harvested. That’s the kind of practical, old-school self-sufficiency I’m always looking to bring back.
What’s your favourite variety of winter squash to grow? And do you store yours for winter or use it up as soon as it’s harvested?
DIY Disclaimer: This content is provided for informational and educational purposes only. The methods shared here reflect what I personally use in my own home and garden.


Featured Product
‘Harvest-to-Jar’
Realistic Canning Yields: Fruits & Vegetables
Two-page downloadable guide with bonus content!